Recently at TARS, I've been tasked to work on Tars home page which is a NextJS project where I used tailwind to style components. Well to be honest, It's not the first time I used tailwindcss, infact I've used it in one of my personal project too around one year back, but that time i didn't go deep with tailwind. Suffice to say, I just explored the surface.
Tailwind is super easy to use once you get hang of it and in this article, I'll discuss 5 key learnings i got from using tailwindcss.
1. Rewire your brain
Have you used Material UI or Chakra UI or Bootstrap ? Well tailwindcss is not that. What about vanilla css or sass ? tailwind is not that too. So if you're coming from any of these backgrounds, you might need to unlearn few things first.
So what exactly is tailwind ? Tailwind is utility first framework where you have predefined utilities (you can create custom utilities too) which you can use inside your html itself to style your element.
2. Don't Use Dynamic Value inside utility class
Lets say you need a button with dynamic padding (for some reason) and you decides to create a custom component out of it so that you can pass padding values as props (something like this) :
export default CustomButton ( { btnLabel, paddingX, paddingY } ) {
  return <div role="button"
             className={`w-full bg-purple-500 text-white px-[${paddingX}] py-[${paddingY}]`} >{btnLabel}</div>
}
It seems right, isn't ? No ! Tailwind doesn't work like this. Because tailwind uses regular expression to extract the string and since tailwind doesn't execute the code, so when tailwind encounter px-[${paddingX}], it doesn't have any idea about paddingX's value.
So in order to use dynamic values, you can do something like this :
const PADDING_CLASSES = {
  '28px' : 'px-[28px]',
  '32px' : 'px-[32px]',
}

export default CustomButton ( { btnLabel, paddingX, paddingY } ) {
  const paddingXClass = PADDING_CLASSES[paddingX];
  const paddingYClass = PADDING_CLASSES[paddingY];
  return <div role="button"
             className={`w-full bg-purple-500 text-white ${paddingXClass} ${paddingYClass}`} >{btnLabel}</div>
}
For more info, refer Tailwind docs
3. Use IntelliSense and save time
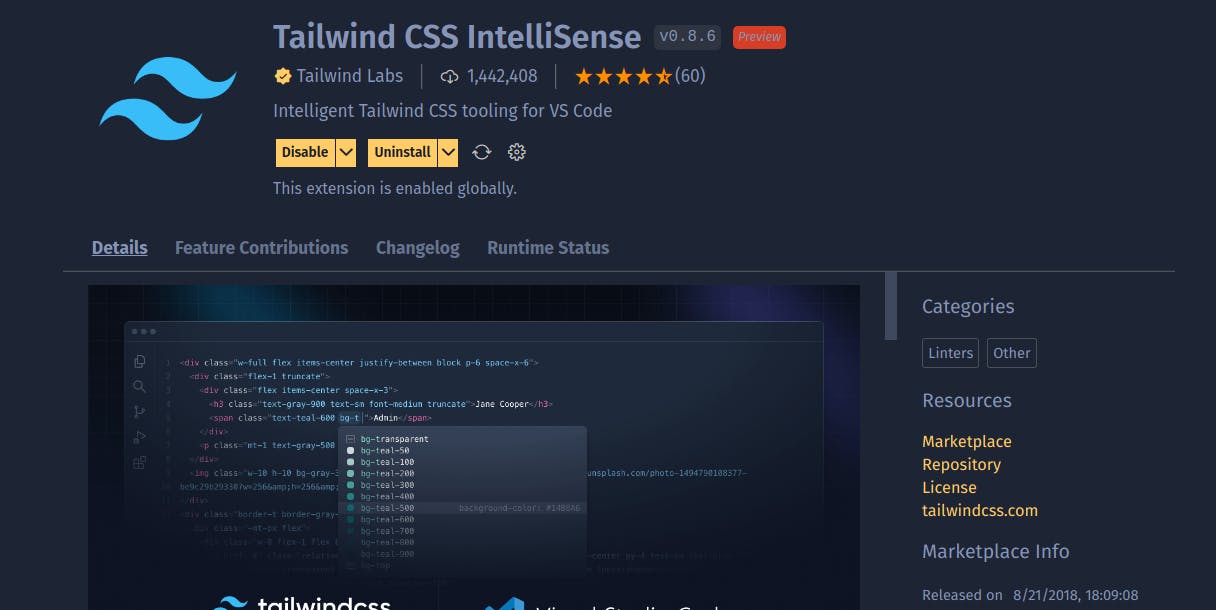
If you are beginner in tailwind then you know how frustrating it is to refer the docs again and again to find and use the correct classname. Well, good news, you don't need to leave your VS Code again just to find that 14px font size is called text-sm in tailwind
Install Tailwind CSS IntelliSense from extentions tab in VS Code and let your editor do heavy lifting for you !

From tailwind 3.1, you don't even need to check docs to figure out and customize tailwind config (tailwind.config.js) as tailwind is shipping first party typescript types support for config file.
To make it work, add type annotation to the top of the file as shown below
/** @type {import('tailwindcss').Config} */
module.export {
  ... // CONFIG HERE
}
4. Just @apply it
There's one big problem with tailwind, i.e. it makes your html / jsx ugly with huge string of classnames. On top of that if you're re-writing same long classnames then it's a total mess.
To make our code less chaotic, tailwind provides many ways to reuse the styles. One of the way is using @apply directive. Suppose you have a card which you're using all over the places with same styles. Then you can simply make a class out of it as shown below
/* Inside global.css */

@layer components {
  .card {
    @apply py-10 px-8 bg-white text-black shadow-sm
  }
}
and you can use the classname as shown below.
// inside card.jsx

export const Card = ({ children }) => {
  return (
    <div className="card"> { children } </div>
  )
}
Tailwind Docs on Reusing Styles
5. Prettify your classes with Prettier
Now you know how to reuse styles. Lets see how to format your classes so it's easy to read. Just like we use prettier to format our code, we can use it to format our tailwind classes too with help of tailwind plugin.
For that, we need to have prettier as dev dependency. After that, we need to install one more dev dependency, i.e., prettier-plugin-tailwindcss using
npm i -D prettier-plugin-tailwindcss
Once installation is done, we need to enable Format on Save option from editor's settings and boom ! it'll start formatting your classes on save.
The sorting is done based on the following order
- First it'll sort base classes
- then component classes
- and finally, it'll sort utilities classes
6. Fix unknown word error (Bonus Point)

If you're facing unknown word error while creating optimised build on vercel deployment then probably the error is linked to point #2 we discussed. Remove any dynamic class and hopefully it'll fix the error.
I hope you find this article interesting. Thanks for reading. Until then, bye 👋

